
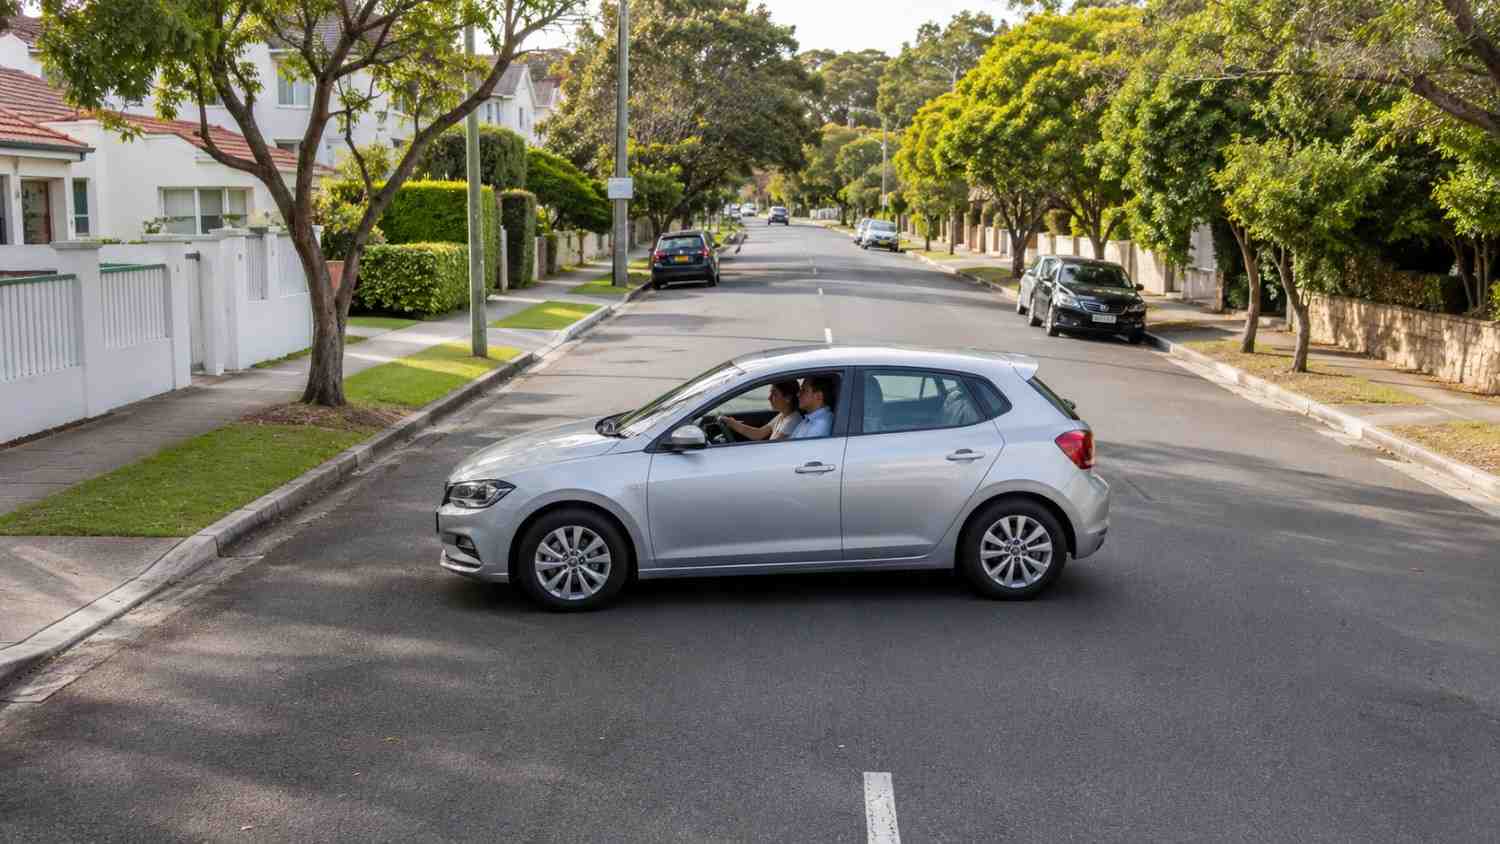
Many learner drivers feel uncertain when performing a 3 point turn, especially during a driving test or on busy residential streets. Small mistakes, such as poor observation, incorrect steering, or forgetting to signal, can lead to lost marks or create unsafe situations.
The good news is that a 3-point turn is a straightforward manoeuvre when you understand the correct sequence and practise it consistently. By following the proper steps, maintaining good observation, and controlling your vehicle smoothly, you can complete the turn safely and confidently.
In this guide, you’ll learn the correct 3-point turn technique, common mistakes to avoid, and practical tips to help you pass your driving test and improve your everyday driving skills.
Key Highlights
- A 3-point turn helps you turn your vehicle around when a normal U-turn is not possible.
- It is commonly used on narrow or quiet residential streets with clear visibility.
- The manoeuvre involves moving forward, reversing, and then moving forward again into the correct lane.
- Always choose a safe and legal location before starting a 3-point turn.
- Check mirrors, blind spots, traffic, pedestrians, and cyclists before every movement.
- Use indicators correctly when pulling over and moving away from the kerb.
- Keep your speed slow and controlled throughout the manoeuvre.
- Avoid touching or mounting the kerb, especially during a driving test.
- Good observation, smooth steering, and calm control can help you complete the turn safely.
What Is a 3 Point Turn?
A 3-point turn is a driving manoeuvre used to turn your vehicle around on a road that is too narrow for a normal U-turn. Instead of turning in one smooth curve, the car changes direction through a series of controlled movements.
The manoeuvre usually includes three stages: driving forward across the road, reversing back while steering the opposite way, and then driving forward again into the correct lane. This allows the driver to face the opposite direction without needing a wide turning area.
For learner drivers, a 3-point turn is an important skill because it helps build confidence with low-speed control, steering, reversing, observation, and safe road positioning.
When Should You Do a 3 Point Turn?
You should do a 3-point turn when you need to turn around, and there is not enough space to complete a safe U-turn. It is commonly used on quiet residential streets, narrow roads, or areas where turning around in one movement is not possible.
Before starting, make sure the location is safe and legal. The road should have clear visibility in both directions, minimal traffic, and enough space to complete the turn without blocking other road users for too long.
Avoid doing a 3-point turn near intersections, sharp bends, hill crests, pedestrian crossings, busy roads, or places where road markings or signs prohibit turning. If the road feels unsafe, continue driving until you find a better place, such as a side street, roundabout, or wider section of road.
How to Do a 3 Point Turn Correctly?
To do a 3 point turn correctly, stop at the side of the road, check all mirrors and blind spots, signal if required, then turn the steering wheel fully and drive across the road toward the opposite kerb. Reverse slowly while steering in the opposite direction, then move forward again into the correct lane, continuing to observe and give way to other road users throughout the manoeuvre.
Step 1: Pull Over Safely to the Left
Check your mirrors, signal left, and move close to the left kerb. Stop safely and make sure you have enough space to complete the turn.
Step 2: Check Mirrors, Blind Spots, and Traffic
Before moving, check your mirrors and look both ways. Do a head check over your right shoulder to make sure no vehicle, cyclist, or pedestrian is close.
Step 3: Signal Right and Move Forward Slowly
Signal right to show your intention. Turn the steering wheel right and move forward slowly across the road. Keep your speed low and stay in control.
Step 4: Stop Before the Opposite Kerb
Stop before your front wheels touch the opposite kerb. Do not hit or mount the kerb, as it can show poor vehicle control.
Step 5: Select Reverse and Check Around You
Select reverse gear and check all around your car. Look through the rear window, check mirrors, and scan both sides before moving back.
Step 6: Reverse Slowly While Steering Left
Reverse slowly and turn the steering wheel left. Keep looking around while reversing and stop before your rear wheels reach the kerb.
Step 7: Move Forward Into the Correct Lane
Select drive or first gear, check traffic again, and move forward slowly. Straighten the steering wheel, return to the correct lane, and continue only when safe.
Master Your 3 Point Turn with Confidence
Learn how to complete a 3 point turn safely with proper observation, smooth steering, correct signalling, and calm vehicle control.
Book Your Driving LessonCommon Mistakes When Doing a 3 Point Turn
Common mistakes when doing a 3 point turn include failing to check mirrors and blind spots, steering too late or too early, forgetting to signal when required, and moving too quickly. These errors can reduce safety, lead to driving test faults, or cause you to lose control of the vehicle during the manoeuvre.
1. Not Checking Before Each Movement
One of the biggest mistakes learners make is checking only once before starting the manoeuvre. During a 3-point turn, you must check before moving forward, before reversing, and before driving forward again. Traffic, pedestrians, or cyclists can appear at any time, so continuous observation is essential.
2. Forgetting to Signal
Some drivers forget to signal before pulling over or before moving away from the kerb. Indicators help other road users understand your intention. Always signal clearly before changing position or direction.
3. Moving Too Fast
A 3-point turn should be completed slowly and carefully. If you move too fast, you may lose control, steer too late, or fail to stop before the kerb. Keeping the car at a slow pace gives you more time to react.
4. Steering Too Slowly
While the car should move slowly, the steering should be quick and smooth. If you turn the steering wheel too slowly, the car may not turn enough, and you may need extra movements to complete the turn.
5. Touching or Mounting the Kerb
Learner drivers often get too close to the kerb during the first or reverse movement. You should stop before the wheels touch or mount the kerb. Hitting the kerb can show poor control and may be marked as a serious mistake in a driving test.
6. Choosing an Unsafe Location
A 3-point turn should not be done on a busy road, near a bend, close to an intersection, on a hill crest, or where visibility is poor. Choosing the wrong location can create risk for you and other road users.
7. Not Looking Behind When Reversing
Relying only on mirrors while reversing is unsafe. You should turn your head and look in the direction of travel while also checking mirrors and blind spots. This helps you spot pedestrians, cyclists, vehicles, or obstacles behind you.
8. Rushing When Traffic Appears
If another vehicle approaches while you are doing a 3-point turn, do not panic or rush. Stop safely and let the traffic pass if needed. It is better to pause than to complete the manoeuvre dangerously.
9. Poor Clutch or Brake Control
In manual cars, poor clutch control can cause the vehicle to stall or jerk. In automatic cars, poor brake control can make the car move too quickly. Smooth control helps keep the manoeuvre safe and steady.
10. Finishing on the Wrong Side of the Road
After the final movement, make sure you straighten the wheels and continue on the correct side of the road. Finishing too wide or too close to parked cars can create unnecessary risk.
Conclusion
A 3-point turn is a useful skill for learner drivers because it helps them turn around safely when a normal U-turn is not possible. While the manoeuvre may seem simple, doing it correctly requires good observation, smooth steering, proper signalling, and calm vehicle control.
To perform a 3-point turn safely, choose a suitable location, move slowly, check before every movement, and use your indicators at the right time. Good judgment and control matter more than speed, especially when you are preparing for your driving test.
If you are still unsure about how to complete a 3-point turn correctly or want to improve your chances of passing the driving test, professional guidance can make a big difference. At Nirvana Driving, learner drivers can build confidence through structured driving lessons that focus on safe manoeuvres, road awareness, test preparation, and real-world driving skills. With the right support and regular practice, you can learn how to complete a 3-point turn safely and feel more prepared on test day. Book your driving lesson today with Nirvana Driving!
FAQs
1. Do you need to signal during a 3-point turn?
Yes. You should signal left before pulling over and signal right before leaving the kerb. In NSW and Victoria, drivers are expected to signal for at least five seconds before moving from a parked or stationary position.
2. Do you check blind spots during a 3-point turn?
Yes. You should check mirrors and blind spots before moving away from the kerb and before each direction change. You should also look in the direction of travel when reversing.
3. How many movements are allowed in a 3-point turn?
A standard 3-point turn uses three movements: forward, reverse, and forward again. In the NSW driving test, a maximum of five direction changes may be used, but if the manoeuvre can be completed in three, the driver is expected to do so.
4. Can you fail your driving test for a bad 3-point turn?
Yes. You may fail if you perform the manoeuvre unsafely, fail to check properly, mount the kerb, break a road rule, or create danger for other road users. NSW guidance states that mounting the kerb at any time during the test will result in a fail.
5. Should you use the accelerator during a 3-point turn?
On flat ground, especially in an automatic car, you may be able to control the vehicle mostly with the brake. The goal is to move slowly and stay in control. Avoid heavy acceleration because it can make the manoeuvre harder to manage.